I'm up on the blog over at A Jillian Vance Design with this one! If you'd like more details and links just hop on over there and give me a visit. Thanks for stopping! Come again soon!
Monday, August 31, 2020
Friday, August 28, 2020
Woodland Wonder - Miss Ink Stamps
Welcome back!! I've got a little bit of a Miss Ink woodland wonder for you today! I'm in love with the Smokin' Caterpillars stamp set that these mushroom images come on. It's cool that you can use them along with the other Alice Collection images OR they are beautiful on their own and mixed with some of the other sets from Miss Ink!
I started by ink blending a white panel of cardstock using Cracked Pistachio Distress Oxide Ink. I didn't worry about full coverage and left lots of variation. Then I sprayed my Leafy Greens stencil with some Pixie Spray (let it sit for a few minutes while I gather my supplies) and then place it over the panel sticky side down. This stuff has saved my crafty life recently. I had no clue. (Thanks Heidi!) Then I applied some Deco Foil Metallix Gel in Champagne Mist. I did add some Distress Embossing Glaze powders to this and heat it, but since the colors weren't really much of a contrast it didn't have a huge impact. I will be playing with these next month so stay tuned!
Finally I cut all of my pieces and assembled them... adding in a couple flowers, the bee, some greenery and a butterfly ... and of course that beautiful banner... from the Springtime Banners stamp set and gold embossed a cute sentiment from the Decaf Background stamp set... perfect for that banner.
That's me for today! Thanks so much for stopping and I hope you enjoyed it! Come again soon!
Thursday, August 27, 2020
You Are Amazing - Rubbernecker Stamps!
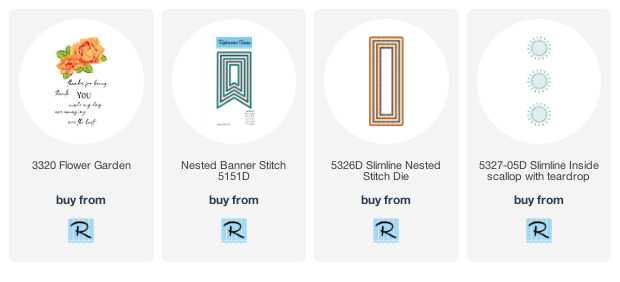
Welcome back! Today I'm sharing a card using some beautiful new layered florals and awesome slimline dies available in the Rubbernecker shop! I stamped and die cut bunches of these flowers from the Flower Garden stamp set in various colors while I was away on vacation and was excited to get these on a card for today! I promised previously I'd show another technique I sometimes used for shakers instead of just my "eyeball" method...lol! So here's how I made this shaker:
- I started with the largest of the nested Stitch Slimline and used washi to tape it down onto my white cardstock.
- Then I placed the beautiful Inside Scallop With Teardrop window die into the center of the rectangle and taped it into place.
- I ran them through my die cut machine together to create my shaker window layer.
I just love the Slimline layers available from the Papercut shop and I chose the purple from this Festive Variety pack to be my second layer and adhered it to one of the fantastic Papercut Slimline Card Bases that are already prescored .. easy peasy! I set the base aside to finish my shaker.
- Next I adhered a piece of acetate that was cut to 7 3/4" x 2 3/4" over the back of the window layer of my shaker.
- Then I added some foam tape around the entire perimeter of the windows and also in between each window because I wanted each to have it's own contained shaker space so that the filling didn't all fall towards the bottom of the card each time it was still.
- Also, be sure all of your foam pieces are touching to keep whatever fillings you add where you want them.
- I cut another piece of white cardstock to 7 3/4" x 2 3/4" and stamped the handwriting images and splatters from the Splatter Stains stamp set onto it. These images will eventually show through the windows.
- Then I filled each of my window wells up with some sequins in some greens, pinks and white. Note that this is going to be the BACK of your shaker so in this case you'll want your sequins to be upside down. I used my fine tweezers to flip any over that were facing the wrong way.
- I gently peeled off the paper backing from the foam tape using a tool to hold the shaker piece down as I did... sequins are jumpy and will quickly attach themselves to your foam tape if you let it bounce as you take off the paper.
- And finally I flipped my stamped piece over and covered the sequin filled windows.
And there's my shaker element! Easy peasy! I just adhered the entire thing to my purple pre-cut layer! You don't have to eyeball it and you can easily tell how much filling you have in your shaker. In addition, it's much easer to center my shaker onto my base since it's all one contained piece. I find this method easiest when I have multiple and separated windows like this. Otherwise I end up with sequins stuck under my foam tape if they're not quite in the right place.
From there I just added my floral pieces with various thicknesses of foam tape around my windows. I like to vary the placement for balance. I also stamped one of the great sentiments from Flower Garden onto a banner and layered it with one cut from purple plaid.
Aren't these florals just the prettiest?? And I love how Rubbernecker has separate base slimline dies and windows so you can mix and match! It's so fun! There are tons of new slimline products in the shop so be sure to check it out!
And that's me for today! Thanks so much for stopping by and I hope you'll come again soon for some more inspiration!
I've provided links below for all of the Rubbernecker products I've used today. Should you choose to purchase using these links I will receive a small compensation at no additional cost to you! And thank you!

Wednesday, August 26, 2020
My Somebunny - Paperie Ink
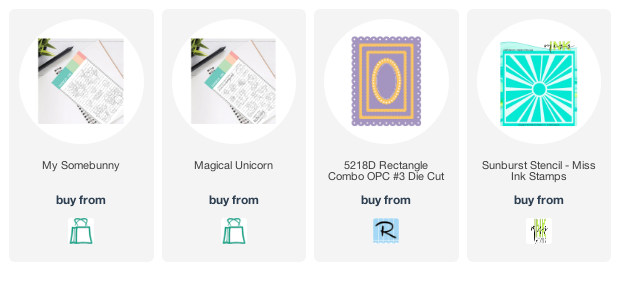
Welcome back! Today I'm sharing a card using an adorable stamp set I got a little while ago and finally had a chance to play with while I was on vacation! Have you checked out Paperie Ink's offerings?? SO adorable!
This set is called My Somebunny and I used some butterflies from the Magical Unicorn set because... well... I picked that one up too!...lol!
I used the Miss Ink Sunburst Stencil for my background and that great scalloped frame from Rubbernecker!
That's it! I had so much fun coloring these images up. If you've never checked out the Paperie Ink Shop out I highly recommend. In fact, I'm heading over there as soon as I finish this up because I saw some more adorable that I'm pretty sure I need!
Thanks for stopping! Hope you'll come again soon!

Tuesday, August 25, 2020
Crafty Elves' Countdown to the Holidays - August 2020 Edition!
It's the 25th of the month and time for the Crafty Elves to share our holiday makes for August! We've all committed to creating a Christmas/Holiday card a week for the year and today is the day we show you what we've made. After you leave here, please do be sure to visit my cohorts at their places to see what they have created!
Be sure to stick around 'til the end to see who is getting some happy mail from me!
Now here's how I was inspired this month!
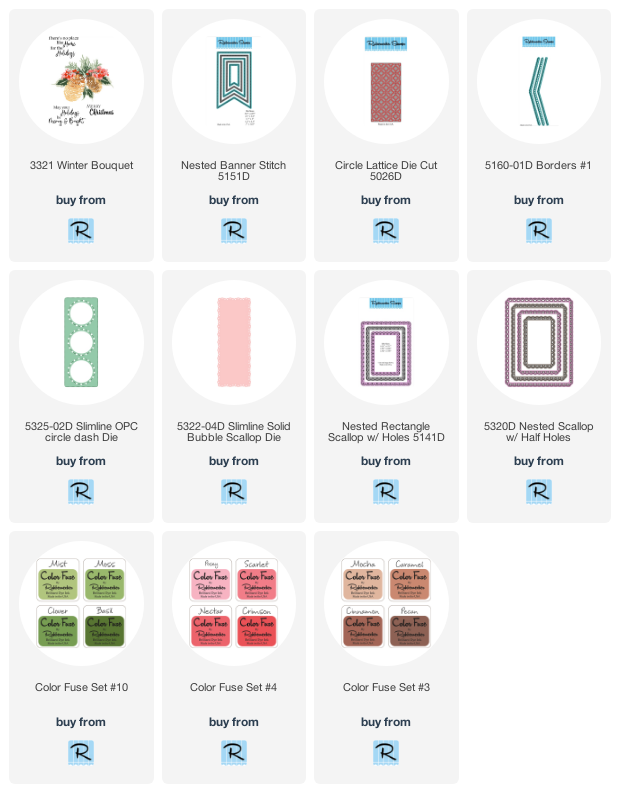
Over at Rubbernecker Stamps there is a new layering stamp set called Winter Bouquet. I LOVE it! Pinecones, sprigs, berries and leaves... it's gorgeous and perfect for some pretty Christmas Cards!
I stamped them with some Color Fuse Inks and paired it with some of the beautiful dies from Rubbernecker. For this one I stamped directly onto that pretty scalloped slimline die cut and added some splatters.
For this one I used the scalloped background along with the lattice die to create a shaker window because.. well... shaker!
And for this one I used one of the banner dies to "hold" my bouquet for me.
And that's me for today! Now for last month's winner of Happy Mail!
Suzanne! (Or as I like to call her, mom!)... message me if you want your prize!
We're playing again this month so leave me some love for your chance to win. Sounds like bribery? It is!...lol! Plus I love to send you Happy Mail!
Thanks so much for joining us this month and be sure to check out my crafty buddies' places (links are above) to see what they have for you this month!

Labels:
Christmas,
Color Fuse Ink,
Crafty Elves,
Rubbernecker,
Slimline,
Winter Bouquet
Monday, August 24, 2020
Hello Wow Lightening Effects Kit! - CAS-ual Fridays Stamps
Hello all! Today I'm sharing a card using a couple of the fantastic new Wow products now available in the CAS-ual Fridays shop!
I started with one of the beautiful florals from the Mon Ami Stamp Set. I stamped a bunch on some Copic friendly paper and colored them in with V01, V05, and V15 Copic Markers. Then I used the Wow Mixed Media Embossing Brush and brushed some onto the base of the florals. You want to be sure to get a lot of the liquid off of the brush and back into the jar using the lip of the jar because some will still be on the base of the brush and will drip down. You can always dip it in and add some back.
The awesome new Wow Changers Lightening Effects Kit is a great way to use some of the embossing powders in your stash and add a little Wow to them! The kit is so cool! It comes with three Changers; Glisten, Texture, and Sheen and three empty jars all in an adorable little handled carrying case. I took some purple that I had in my stash and added a little of it and a little of the Glisten Changer into one of the empty jars that comes in the kit and shook it up and I love the effect! I sprinkled that onto the painted flowers and heat embossed them.
I love the shimmery look it gave me otherwise solid purple powder! So cool. For this mixture I probably used about 3/4 purple and 1/4 of the Glisten. In hind site I'd have used a little less of the purple. I still have some of the mixture left and will use it again and maybe add some more Glisten Changer or maybe one of the others! Or maybe something else! SO fun!
I created a simple background with some texture paste and the Modern Petals Stencil. I cut out and arranged all of my flowers into a wreath form around a circle die cut. Attached them using foam tape and then cut some of those pretty die cuts using the Casual Trees dies and some glitter paper and added those with glue around the wreath. Finally I used the Hello die from the Sweet Friend Fri-Dies.. cut it once from glitter paper and twice more from white cardstock-stacked them together and then added them across the wreath
Had so much fun experimenting with these new products! I'll be using them frequently for sure!
Thanks so much for stopping and hope you enjoyed it! Should you see something you need from the shop today, I have this for you:
Come again soon for more CAS-ual Fridays Inspiration!
Tweet Wishes - A Jillian Vance Design!
I'm up on the blog over at A Jillian Vance Design with this one! If you would like more details and links, please give us a visit over there!
Thanks for stopping and hope you'll come again soon!
Friday, August 21, 2020
I Hippopotamiss You! - Miss Ink Stamps
Hello again! I'm back with the adorable new Hippo Hooray stamp set from Miss Ink again along with some flowers from Magnolia Sympathy. I am living in a world where baby hippos are smaller than flowers and fit nicely in your pocket so you can take them along with you everywhere you go... which isn't very far these days... but I'd still love a baby hippo in my pocket!!
I started my background with the Diamond Halftones stencil and some clear texture paste. Then I sprinkled on some Primary Pink and Sparkling Snow Wow Embossing Powders. Then I heated them up until they bubbled. I stamped, cut and colored all of my images and then added them inside the photo frame with various thicknesses of popup tape. Finally I stamped and then die cut that adorable sentiment using a word bubble die and popped that up too. Finally I added a few sequins and done! I LOVE this sweet hippo with the flower in her hair... oh! That one is from Springtime banners.
I just love this one!!
I'm playing along over at Double Trouble! The current challenge is to create a Friendship card! No Birthdays, Holidays or Celebrations. I'm just telling my friend I miss her! And I've met the twist which is to use Gray along with two other colors! So I can also link up over at their partner for this challenge, Color My Heart Color Dare! (Silver, White and Black are also allowed) My colors are Gray, Pink and Green! You can find this challenge here! Check out their posts for any details and play along!
Thanks so much for stopping! And if you haven't seen it, check out my other post today to see how you could maybe win some stuff!
Come again soon!
Instagram Hop With Polka Dot Orchard and Angie Blom!
Oh Happy Day! Today we're hopping over on Instagram with some new release digital stamps from Angie Blom Digital Designs and Polka Dot Orchard!
I have two cards for today's hop... one from each!
First this one was made with Angie Blom's Road Trip Girl set!
I just love these stacked suitcases full of all things travel! I printed, cut and colored the image and sentiment and then created the soft cloudy background with a stencil and some Distress Oxide Ink. Then I splattered on a little glittery watercolor and when it was dry popped up all of my pieces! Easy peasy!
I knew I wanted to make a slimline with this stack of ice cream goodness from Polka Dot Orchard called Birthday Stackup, so I sized my images accordingly, cut and colored it. I used a stencil to add some "confetti" in some shimmery glitter paste, die cut the sentiment and layered all of my pieces together. It's been so long since I had one of these ... my favorite would be the one rolled in chocolate chips. Ever since I made this card I've been craving one!!
That's me for today! Now, to see what everyone created and for your chances to win some free digis, head on over to my Instagram account @bzscrapper and follow the instructions! Good luck!
Thanks for stopping and hope you'll come again soon!
Monday, August 17, 2020
Giving Thanks - A Jillian Vance Design
I'm up on the blog over at A Jillian Vance Design with this one! If you'd like links and more details give me a visit over there!
Thanks for stopping and hope you'll come again soon!
Friday, August 14, 2020
Hey Beautiful - Miss Ink Stamps
I'm back again with some more Hay Daze from Miss Ink Stamps! Yesterday I was up on the Miss Ink blog with one of these mini scenes using the so versatile Slimline Background Stamp and if you'd like to check it out and see all of the cards I've made so far using this scene stamp, you can take a look at that right here!
I pretty much built this one in the same fashion as yesterday's card and the piece was left over when I stamped the slimline background and die cut two pieces.. one for an A2 and then this one! I colored it up, added the frames and then some images from Springtime Bunnies, Springtime Banners, and that cute skinny sentiment from the Decaf Background!
I absolutely love these new background stamps and how many different ways you can use them!
Thanks for stopping and please do come again soon!
Thursday, August 13, 2020
Just Saying Hello - Miss Ink Stamps
I'm up on the blog at Miss Ink Stamps and sharing another card using the new Hay Daze stamp set in a different way! If you'd like more details and links please join me over there!
Autumn Fire - Rubbernecker Stamps
Hello all! Lisa here! I'm so excited to be sharing one of the beautiful new layered florals available in the shop today!
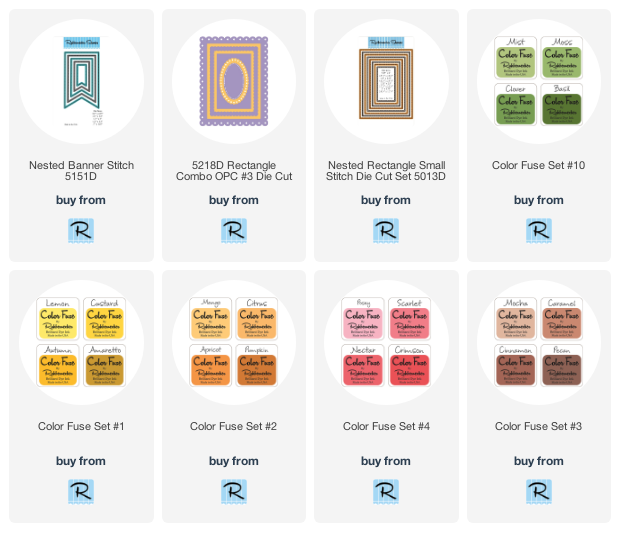
The gorgeous Autumn Fire floral set ... this one is SO beautiful. I stamped it in the colors suggested on the included stamping guide for this one which were perfect. They really do look like they are on fire, don't they?
Here's how I made this one!
The flowers:
- I started by following the guide included in the stamp set. Each of the stamps is numbered on its sheet (ex: 1A, 1B, 1C, 1D). And the guide also includes suggested colors.. in this case for the flowers I used Lemon, Citrus, Apricot, and Crimson.
- I placed stamp 1A into my Misti and stamped it onto my white cardstock using the lightest color, Lemon.
- Next, stamp 1B using Citrus; 1C using Apricot, and 1D using Crimson.
- Each consecutive stamp needs to be lined up over the one before it. If you have a stamp positioner this is the easiest in case you need or want to stamp a layer more than once for a deeper color.
- A trick I like to use is to add a dot in permanent marker onto what I choose as the top of the stamp (once to the stamp and once to the paper I'm stamping on).
Just place the stamp onto the paper as you want to position it and then place the dot onto the back of the stamp at the top and then another onto the paper aligned with the one on the stamp. This will be where you line the stamps up each time.
I do this once the first time I use the set to the stamp and then you only need to mark the paper the next time you use it. It's not perfect... I still need to adjust it a bit once I lay the next layer over it but for this brain, it's SO much quicker!
I do this for each subsequent stamp in the series:
It also helps if your first positioning of the stamp matches the position on the guide because it will help you line it up the first time more easily. I just usually look for a distinctive feature of the stamp and start there!
After lining it up the first time, with the dots each time after is a breeze even if you don't pick it up again for a while!
A note: make sure you let the marker dry because it will rub off on your Misti, which I know because this happened to me, however it was easy enough to take it off right away with my finger.
Another Note: If you are stamping directly onto your panel and not die cutting and popping up you could use a very light pencil mark that can be erased after stamping! Or no mark at all! If you put the dotted area on your stamp to the top, then you will end up in just about the right position easily still each time and after that lining up is easy peasy!
The leaves:
- I stamped the two layers of leaves in the same fashion as the flowers first stamping the lightest color and then lining up the darker color over it. The colors used for the leaves are Moss and Basil.
- Next the banner was cut using the third largest Nested Stitched Banner.
- Again using the Misti, I stamped the sentiment onto the banner so that I could be sure to have a nice, crisp, dark sentiment.
Assembly:
- I started with a white base cut 5 1/2" x 4 1/4".
- I die cut the wood grain design paper using the largest of the Nested Rectangle Small Stitch dies and adhered it to the white base.
- When I cut the OPC dies I always save my extra frames so I had handy in my stash the two rectangle frames and nested them together and added pop up foam tape to the back and attached it to the center of the woodgrain.
- Next the florals and leaves were added with foam tape.
- Then I cut the banner down so that it would fit in the space I had, added foam tape and slid the top underneath the frames and weaved it in between the florals.
- Finally a few sequins in autumn colors and I was done!
Thanks so much for stopping today! I hope you enjoyed your visit and you come again soon for more Rubbernecker Stamps inspiration!
And if you'd like more inspiration and awesome tips on the new layering stamps, please do checkout the release video up on the blog today!
And if you'd like more inspiration and awesome tips on the new layering stamps, please do checkout the release video up on the blog today!
I've included links below for all of the Rubbernecker products I used today. Should you decide to purchase using these links I will receive a small compensation at no additional cost to you.. and thank you!

Subscribe to:
Comments (Atom)


