Monday, November 30, 2020

A Jillian Vance Design Elegant Christmas


I'm up on the blog over at A Jillian Vance Design with this slimline.  If you'd like more details and links hop on over there and join me!

Thanks so much for stopping and hope you'll come again soon!


Saturday, November 28, 2020

CAS-ual Fridays Stamps - Two Angels


I'm up on the blog over at CAS-ual Fridays Stamps with this one!  If you'd like more details and links, hop on over there and join me!

Check this out!  There's is a great Black Friday sale over at CAS-ual Fridays... no code needed!


And if you use this code you can get an additional 15% off of some already great prices!


Thanks for stopping!  Come again soon!


Friday, November 27, 2020

Not A Creature - Miss Ink Stamps


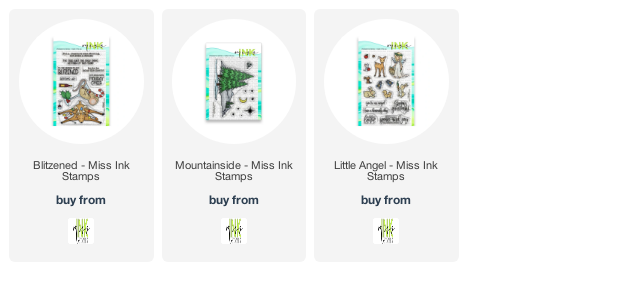
Hello!  Welcome back!  I've got some sweetness from Miss Ink for you today!  I started by stamping the beautiful Mountainside image and colored the trees and mountains, moon and snow using Copic markers.  I leaned towards darker colors and purplish gray.  Then I blended some purple and blue distress oxides leaving space around the moon.  I went right over the mountains and snow and even the trees a little.  Then I blended the yellow over the moon area.  I splattered it with water and dabbed up the excess with a paper towel.  Then sprayed some water infused with Liquid Pixie Dust over that.  Once that was dry, I used a white gel pen to go over the starts that are in the image and had been stamped in black. and added a few white gel drops around in my sky.


I trimmed the background piece so that it would fit under the window die and adhered it to my base.  Then I added acetate to the back of the window die and then popup tape.  I tossed the clear sequins onto the background and added the window piece over the top of them.


Finally, I added that adorable image from Blitzened that I had stamped, cut and colored and fussy cut part of a sentiment from Little Angel and popped it up in place as well.

And that's it!  I am happy this turned out as I had planned it in my head!  That doesn't always happen.

And I there’s this!


Thanks so much for stopping and hope you'll come again soon!
 

Thursday, November 26, 2020

Rubbernecker Stamps - Gracias


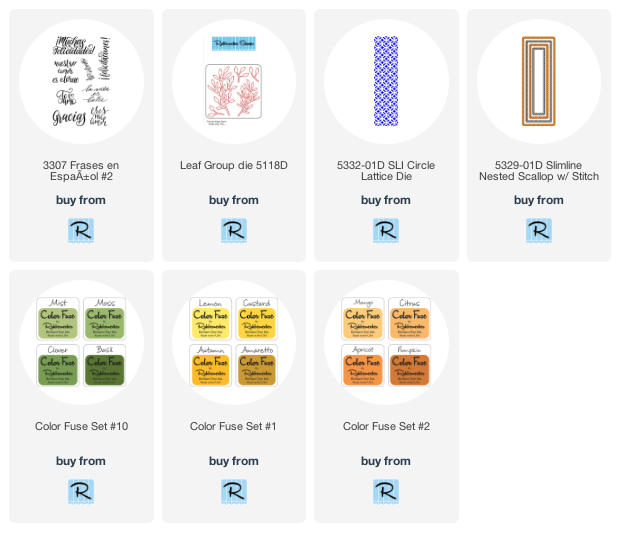
Welcome!  I've got a slimline today using one of the new clear layered sets in the Rubbernecker shop, Field of Daisies!  I also used some of the fantastic slimline dies including the very cool SLI Circle Lattice Die.


Have you seen the cool slimline insert dies in the shop?  I love that you can mix and match inserts with the solid background dies to create so many different designs!

  • Place the solid background die upside down onto the paper.
  • Next place the insert where you want it.  I chose to center it because I knew I was going to create a shaker and wanted to leave space around the edges.  (But wouldn't this look cool offset a bit!
  • Using removable tape, secure the dies so they don't shift when you run them through your die cutting machine.
  • Run them through your die cutting machine and you have your panel with a lattice insert!


Usually when you receive a new stamp set, it will have a film on it from the manufacturing process and it needs to be seasoned.  You can use your finger and rub over it, an eraser, just stamp and clean it a few times.  I find an easy way, especially for something with a solid surface, to get them ready to stamp is to use my sand eraser and rub it lightly over and then wash the stamp off.


I used various yellows and oranges and randomly stamped my layers.  This set is SO easy to line up, there is no need to mark them!

These are the colors I used:


This pallet makes me happy... feels like autumn, right?


  • All flowers and leaves were stamped using various combinations of yellow and orange or greens and die cut.
  • A piece of acetate was cut slightly larger than the lattice window and adhered to the back of the panel.
  • Foam tape was added around the window on the back side of the panel.
  • Sequins were laid out onto the base.
  • The window panel was popped up over the sequins.
  • Extra leaves were die cut using the Leaf Group Die
  • Flowers and leaves were popped up on top of the shaker panel with thin foam tape. 
  • The Gracias sentiment from Frases En Espanol #2 was stamped on cardstock and fussy cut out and popped up onto the card front.


Finally a few sequins were added and I was done!

Thanks so much for stopping by today!  I hope you were inspired and that you'll come again soon!


Wednesday, November 25, 2020

Crafty Elves' Countdown to Christmas - November 2020 Edition


Welcome to this month's Crafty Elves' Countdown to Christmas!  We pledged to make a card a week for the year and every 25th of the month my crafty friends and I share the Christmas cards we made that month!  Be sure when you leave here you check out what they have for you today:


Now!  Here is how I was inspired:


There's a new release over in the Rubbernecker shop and I LOVE it!  This one is using the new Christmas Inchies stamp set!  And I used the cool Shadow Box die to create a 3-D card.  You know how much I love dimension and layers!


I love this Shadow Box die and these inches are perfect for creating a cute holiday scene in it!  I was able to easily create layers for it by using the die to cut a second box from printed paper and then just cut on the embossed fold lines and trimmed the pieces a tiny bit smaller.  This one fits on a 5 1/2 x 4 1/4" base but you'll need to present it in a box because it definitely won't fit in an envelope.


I used the Inchies again for a slimline... I just love these adorable little images!!  And those Christmas lights are awesome.  I had fun with a non traditional color scheme too.


My sentiments on both of these Inchies cards are stacked sentiments on the set, but I needed them to be long so I just stamped them and then cut them apart!


And then I turned to the adorable Snowmen With Presents set.  I decided to use a couple of the critters from Wintery Friends on both of these... they were perfect!


For this one I used some design paper for my background and stitched hills to cut glitter paper for my snow.


For this one, I used a die cut from the slimline clouds to create this background along with some Color Fuse Ink.  The Christmas lights from the Inchies set came in handy for this one and the bunny is from Wintery Friends.


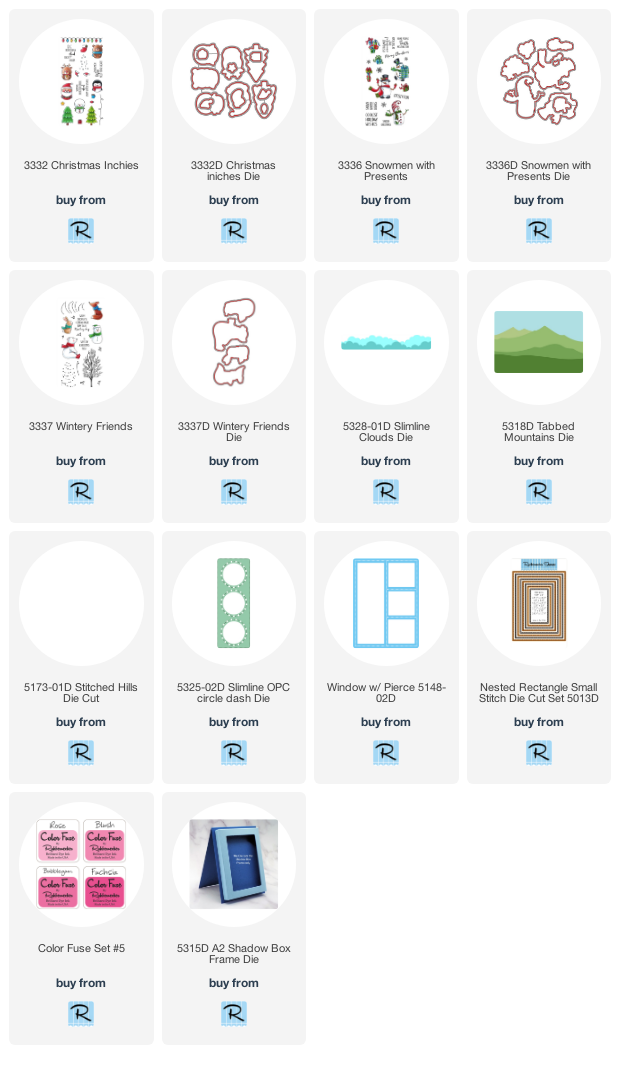
And that's me!  I have links below to all of the Rubbernecker products I used for today.

Don't forget to head on over to my crafty friends' places and see what they've created, but before you go I have a winner from the comments of last month's post:


Verna!  Send me your snail mail so I can drop you some happy mail!

We're playing again this month!  Leave me some love and I'll pick a name and send you some Happy Mail.

Thank you so much for stopping by today and hope you enjoyed it!  We have something special planned for next month's posts too so be sure to come back again!
 

Monday, November 23, 2020

A Jillian Vance Design - Eat The Cookie!


I'm up on the blog over at A Jillian Vance Design with this one!  You can visit me over there for more details and links!

Thanks so much for stopping and hope you'll be back again soon!


Friday, November 20, 2020

Underwear? Under there! - Miss Ink Stamps Release Sneak Peeks Day 3


Welcome back!  It's Release Sneak Peek Day 3 over at Miss Ink Stamps and today I'm sharing this one with you using the new I Believe stamp set!


It's another fun set with that awesome sentiment and some really cute underwear, socks and bra images!  I made a dryer window of sorts after coloring my underclothing items in Christmas colors!


I'm so excited about this fun new release!  Be sure to head on over to Instagram to see what everyone has for you today and stop on over at Miss Ink Stamps account for your chances to win!


Wednesday, November 18, 2020

Joy Clair - Caffeine Fueled Paper Play!


I'm up on the blog over at Coffee Loving Cardmakers with this one!  If you'd like links and more details hop on over there and join me!

Thanks so much for stopping and hope you come again soon!


Happy New Year Sneak Peek - Miss Ink Stamps


Exciting day today!  It's Day 1 of sneak peeks over at Miss Ink Stamps and I'm sharing a sneak of the new Happy New Year mini set!


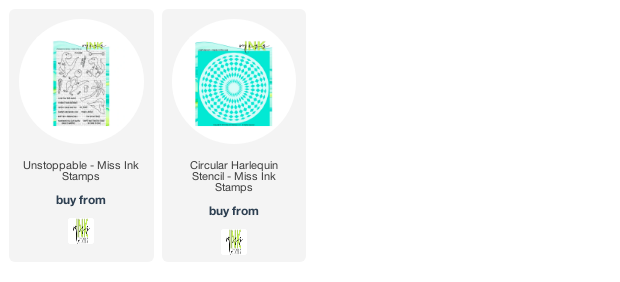
I combined mine with the Unstoppable stamp set because... well... I thought it was perfect for this  year!  I mean.. you don't know... we may yet see dinosaurs!

And I foiled my background with some Glittered Green Deco Foil for extra New Year Celebration shine! 


Be sure to head on over to Instagram and check out the release post to see how you could win!  And we'll have more release sneaks this week and Release Day is on Saturday!  Be there or be square!


2020 25 Days of Christmas Tags - A Jillian Vance Design!


Welcome back!  I'm excited today because over at A Jillian Vance Design we're playing along with Tracey McNeely's 25 Days of Christmas Tags!  You can find all of the tags created at her blog, In My Creative Opinion, here!


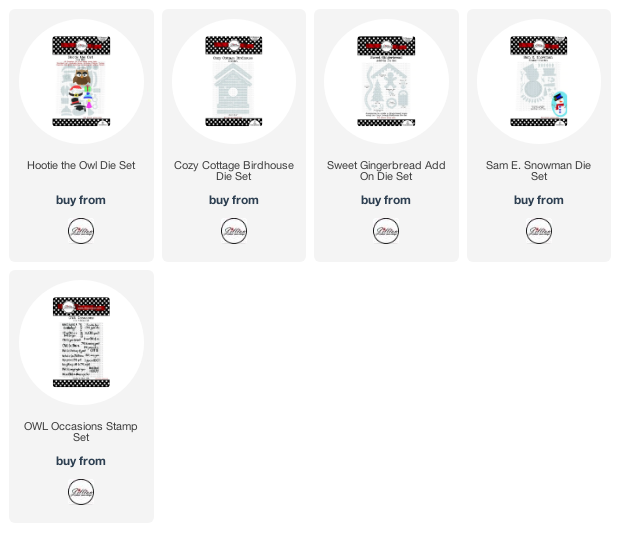
I started with the Cozy Cottage Birdhouse Die Set and the Sweet Gingerbread Add On Die set as my tag.  I cut the snowy roofline and the base from white glitter cardstock.  I used a hole punch to create a hole for the baker's twine at the top.  Then I cut the string of lights from the Sam E Snowman die set and colored the bulbs with my Copics and attached it to the house and added some Glossy Accents.


I added the tree and wreath from the Gingerbread set and then put together the cutie patootie Hootie The Owl including his Santa Hat.  And finally the sentiment from the Owl Occasions set.  I decided this would be a cute tag for a holiday thank you.


All that was left to do was add the twine and done!

Thanks so much for stopping!  Be sure to head on over to Tracey's blog and check out today's post featuring all my teamies from A Jillian Vance Design!  And then head over to the main 25 Days of Christmas Tags blog post to see how you can play along for chances to win some awesome prizes from these sponsors:


Thanks so much for stopping and hope you'll come again soon!

Monday, November 16, 2020

Season's Greetings - A Jillian Vance Design


I'm up on the blog over at A Jillian Vance Design with this one!  Hop on over there if you'd like more details and links!

Thanks so much for stopping and hope you'll come again soon!


Friday, November 13, 2020

Miss Ink Stamps - Have a Grande Day


Welcome back!  I've got some more caffeinated Miss Ink Stamps for you again today!  I'm linking it up to the Coffee Lovers Blog Hop!  Today is the last day to link up and you can get all of the details here!


I decided to use the bleach technique again because it's been a while.  I stamped the images onto the cardstock with Memento Ink and then without removing the stamp or image from the Misti stamped it again with Versamark.  Then I heat embossed with clear gloss embossing powder.


Then I used a paint brush and some bleach and applied it over the image which bleached out the brown from the cardstock.  I splattered a little bleach over the card. Then I went in and watercolored the images with a different water brush and my watercolor pencils.


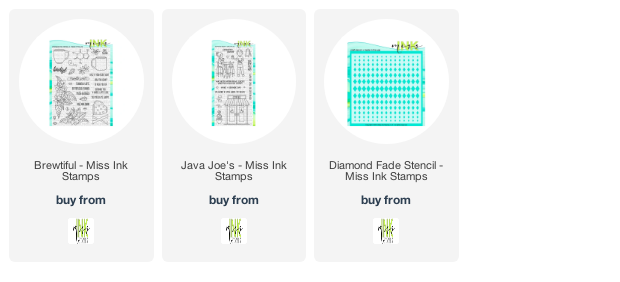
Finally I used the Diamond Fade stencil and some Rusty Hinge Distress Oxide to add some interest to the background and stamped and embossed the sentiment using my Misti.

That's me for today!  Be sure to link up your newly created coffee, tea or cocoa themed creation before the end of today!
 

Thursday, November 12, 2020

You Mocha Me Happy - Miss Ink Stamps


I'm up on the blog over at Miss Ink Stamps today with this Happy card and playing along with the Coffee Lovers blog Hop!  Hop on over there and visit if you'd like links and details!

Thanks so much for stopping and come again soon!