

Warning: Sunglasses are suggested for this post; but not required!
I've had these floating around in my head for quite a while and am so excited that I finally made them! I will admit...when I first saw that one piece frame die, I thought... hmmm... do I want to cut all those frames at one time? Will I use them? Do I need it? (Yes, you do, you will and you do!)

I use the frames all of the time... some more than others, but I save any extras for future projects and it's become one of my very favorite dies.

And on these, I used every single one of them and then some.. there is a trick to lining up those inside layers underneath the shaker layer and I'll share that with you below!

And those flowers and leaves and butterflies! These die sets are each on one plate also and it's perfect! I don't have to worry about losing the individual dies and honestly... when I buy dies like these, I don't cut them apart anyway because I never cut just one. I like to cut flowers and leaves and butterflies and the like in multiples and I put any extras in clear bags to be used later.

Love the sweet word dies also! They were perfect for this design because they didn't take up a lot of real estate and cover up too much of my "background". Do you see the shaker on this one? It's in the area where the second and third largest frames are! I'll have a future post just for this shaker design with pics to show how I make it. It was tricky for me to work it out in my head so I'll share it with you in case your brain works like mine!
So here's how I created these:
- I started by choosing 7 different colors of paper. Yours doesn't have to be a rainbow... I'm looking forward to doing this again with some pretty coordinating design papers!
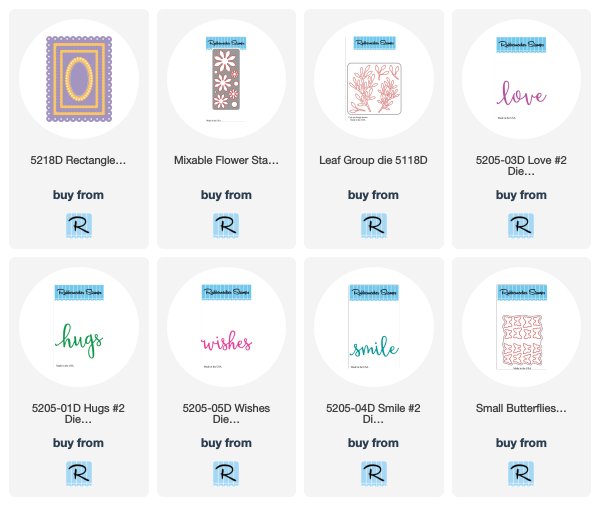
- Once I had my papers picked out, I took the Rectange Combo OPC Die and cut one from each of the 7 colors. As I removed the diecuts I layed them out in the order I wanted to use the colors (i.e. purple, pink, red, orange, yellow, green, blue).
- I cut 7 bases from white cardstock 5 1/2" x 4 1/4".
- Next I started assembling my cards. For most of these, I started with the largest frame the first color and added popup tape before centering it on the base. The next two largest layers I nested together and just added adhesive to the back to they would be layered directly on the base. For each frame I went right down the row, left to right - if you do it this way, you'll have enough to make 7 cards and you can add the shaker elements or not! You can add the popup tape or not!
- For the the next two layers (this would be the one with the oval window and the frame around the outside of it), I also nested together. These I used for most of my shaker fronts. I added adhesive to the back of the two nested frames and layered onto the back a piece of acetate to cover the window. Then I added foam tape around it to enclose my sequins and other shaker pieces.
- Here is the trick! I struggled a bit lining up the last two layers (the scalloped oval frame and inside oval) in the exact right place to line up with the shaker layer which I had to add last. So I cut an extra Rectangle OPC in white and added the two frames that were the same as the shaker window (the oval window with the frame that has the foam tape) and layered those inside the first three frames that were already adhered to the base. These would be covered up by the shaker, but left me with a wonderful place to insert the center pieces and they lined up perfectly! Yes, it left me with a bunch of extra white frames, but believe me... these are the most used by me and I placed them right in a clear bag for future use.
- Once I had my innermost pieces attached, I piled in the filling... I was lucky and had some extra rainbow butterflies from a previous project and added a few of those in each, along with some rainbow and white circles and clear sequins in different sizes. You can fill yours with anything you'd like! Maybe put a sentiment in there? Or an image? I just keep my pile within the limits of that scalloped oval and it's easy to finish it off.
- Once I had all of my fillings in place, I popped the shaker piece over the top, lining the window up around the scalloped frame!
- All that's left is to decorate however you wish. I cut some flowers and leaves in a few of the rainbow papers and added those. I like to put very thin foam tape in between my flower layers for more dimension between the petals.
- I cut each of the word dies three times - once in white glitter paper and twice from white cardstock and then stacked them together for dimension. I attached the word where I wanted it by cutting foam tape very thin and adding it to the back of the word in a few places. This way it was easy to layer it over and through my flowers and leaves.
- Finally, a few sequins and butterflies... as if they escaped from the shaker!
A note: I did vary the layers where I added the shaker a little bit and I love them all! Picture #1 and Picture #3 are the ones that fit the instructions above exactly. And I will be back again with a photo tutorial of the shaker window frame since for me that was a bit of a mind bender.
Thank you so much for stopping by today and hop you enjoyed your stay!
Below are links to the Rubbernecker products I've used today. Should you decide to shop using these links I will receive a small compensation with no additional cost to you... and Thank You!
5 comments:
Wow these cards are wonderful, you've made a fantastic backgrounds with those rich colours and all those layers and the flowers are great. María, xx
*runs to get her shades* ... ;) I love love love these!!! LOVING all that rainbow goodness!!!!
AWESOME creations and great use of multiple cut frames, love the brightness!
Great card designs and I love the wonderful rainbow of colors.
WOW! I was surprised when my transition glasses started to shade up while looking at your cards! teheheheehe I totally LOVE all the POPs of color!!! So bright and cheery and so perfect for Springtime!
Theresa
Post a Comment